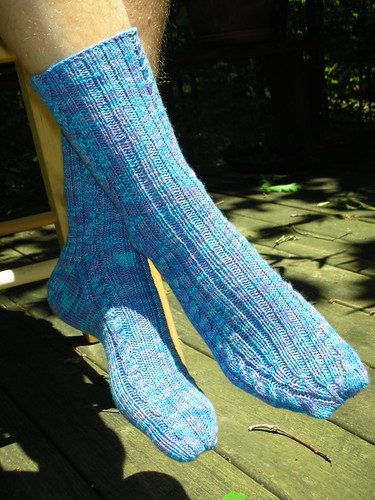
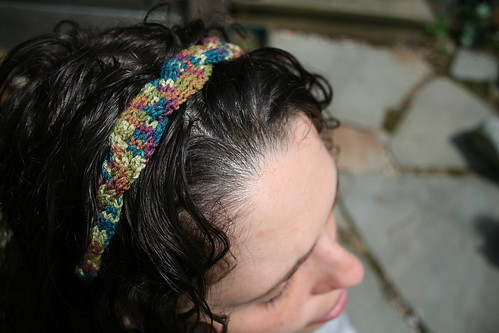
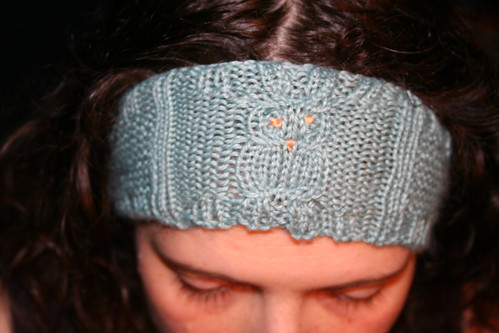
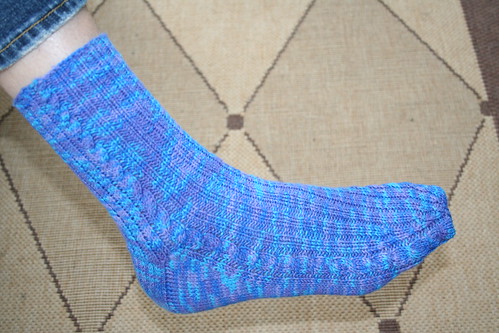
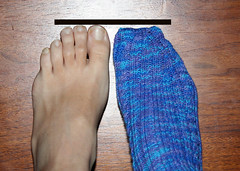
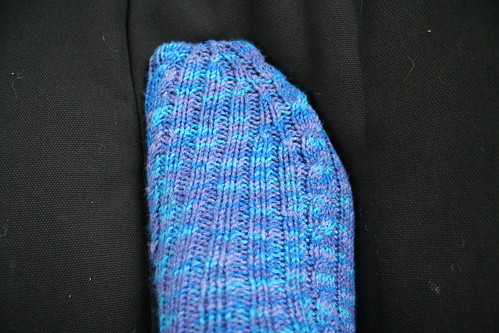
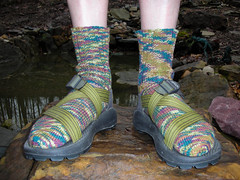
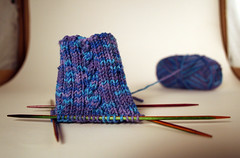
I did knit during the last six months, though. Here is proof:
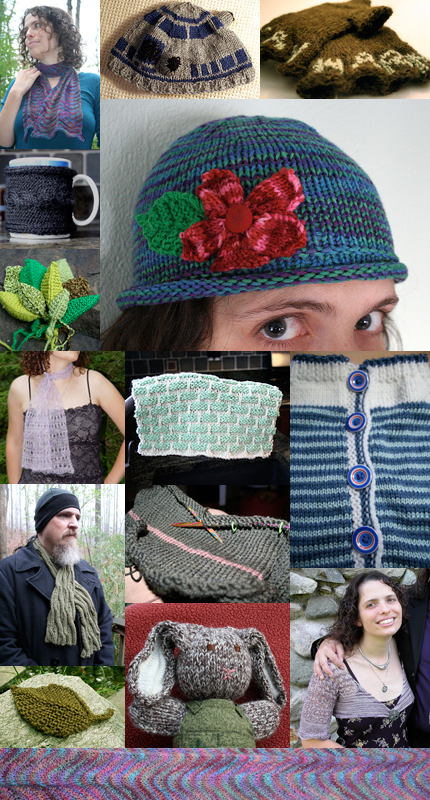
If you want more specific details, you will have to visit my Ravelry project page, as I don't have enough energy for you now.
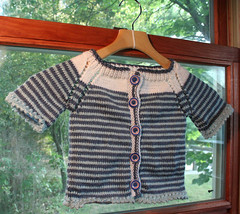
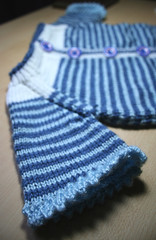
I am particularly proud of two items though, but they need a background story. My husband's sister (Connie) passed away many years ago, long before I met him. Well, about eight years ago one of his aunts also passed away and her house and belongings were auctioned off. Well, stuffed in among her various treasures of years' past was a box full of yarn, needles, crochet hooks, and patterns which had belonged originally to Connie. We scooped up the box. However, I was not yet a knitter, so the box sat safely in our basement for the time being. This spring we received the news that my husband's brother was going to have his first grandchild. Well, it was time for the box of goodies to come out of hiding. I took Connie's yarn and one of her patterns (from 1977) and knitted up a sweater for Connie's great-niece-to-be:
That wasn't enough though, because this child needed something more fun that a sweater. This called for a Bunny Rabbit! So I took more of Connie's anonymous acrylic and whipped up this bunny from Last-Minute Knitted Gifts. The dress is completely my own creation though (including the adorable carrot-pocket).
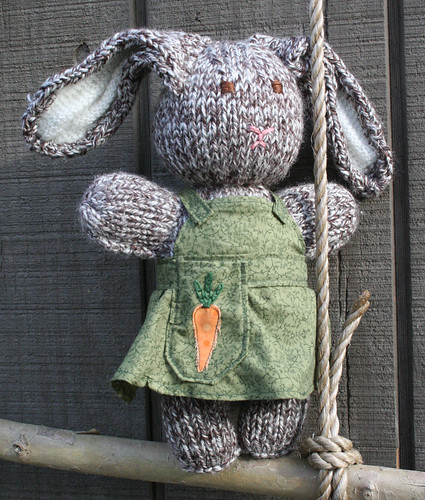
Although I never met her, I am hoping that these will carry Connie's spirit to her great-niece, as I am sure that Connie would have knit many items herself, were she still here.
However, it is an end-of-year post, so that calls for some personal-what-have-you-done-with-your-life-and-what-should-you-feel-guilty-about reminiscing.
What have I done?

However, it is an end-of-year post, so that calls for some personal-what-have-you-done-with-your-life-and-what-should-you-feel-guilty-about reminiscing.
What have I done?
- Spent more time with hubby - not really in the fall, but we definitely had some time over the spring and summer together :-) Been playing a lot of board games, which is loads of fun.
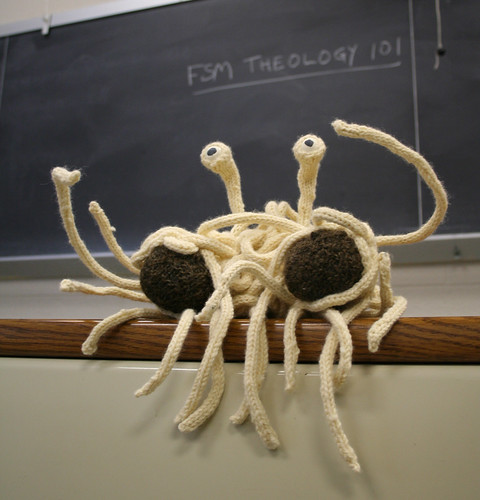
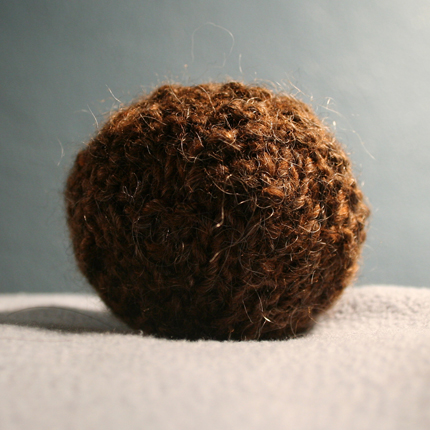
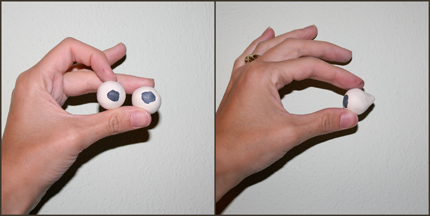
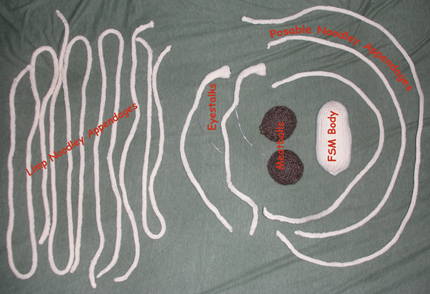
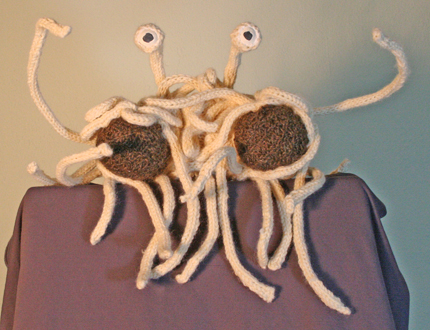
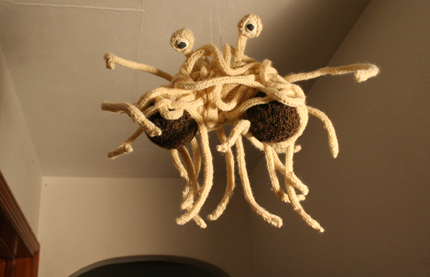
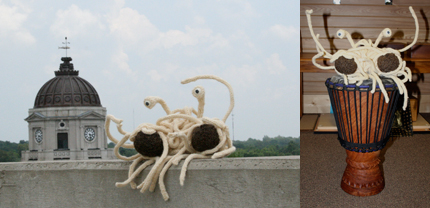
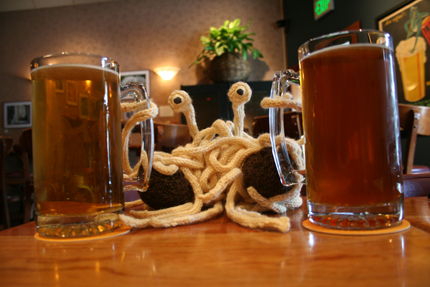
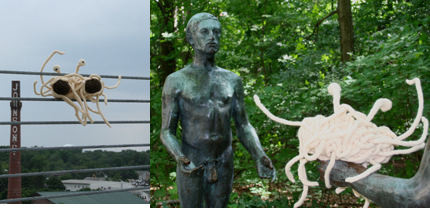
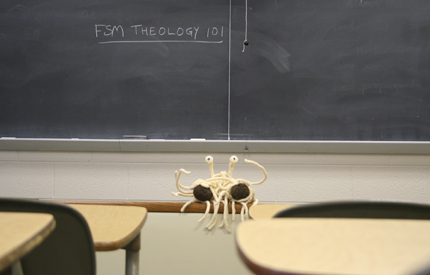
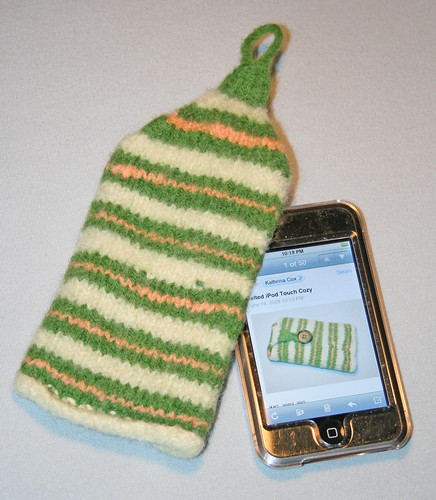
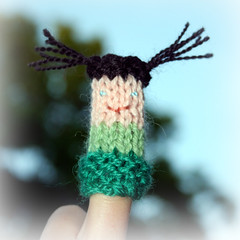
- Made lots of knitted gifts, socks and scarf for hubby, hats and scarves for family, the FSM, lots of stuff for me... Learned new skills - like socks and continental knitting.
- Conquered a New Job. This is a major one and took up a good 5 months of the past year. Hopefully the spring semester will not be as intensive. I sure as hell hope so.
- Learned InDesign. Well, kinda (I can firmly state that I know the basics now).
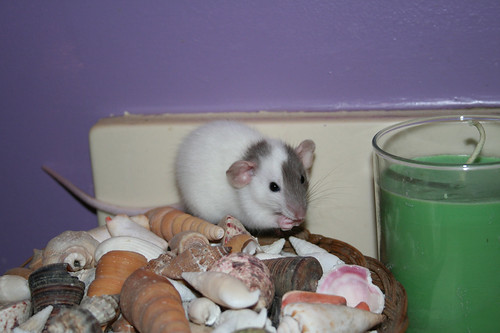
- Adopted two little ratties! I haven't had rats since high school, and it is so nice to have the little furry creatures in my life again. They are just so freakin' adorable.
- Helped Obama win Indiana! Yes I was out there - for both the primary and general elections. I was one of those annoying people walking door-to-door. But it was so worth it because Indiana is actually a BLUE state now!
- I have an office now! It is a complete mess, due to moving everything into the room or I would post pictures to prove that my four walls, two doors, and closet does actually exist.
- Not only do I have an office - I have a craft room!!!
Life is good.
What do I still want to do?
That's it for you... I am going to go play Parcheesi with my sweetie now, so Happy New Year's to you all.
- Knit and quilt for charity.
- Design more knitting projects. I have a lot of ideas percolating... I just need to follow through with them. The idea of a book is in the back of my mind...
- Get back into quilting. This will require cleaning up aforementioned craft room, which went promptly from looking like the picture above, to being a storage room for crap again. I have a feeling it will need several days of hard work to whip it back into shape.
- Weave again. See previous statement regarding craft room.
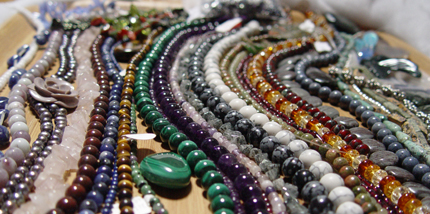
- Use all the lovely, beautiful beads that I got this June and make some lovely, beautiful jewelry out of them.
- Use my Mr. Bento more. I sustained that for several months, but will need a healthy-eating-recharge for the new year again.
- Exercise. Yeah, that one totally did not happen this year.
- Re-learn Spanish. Hubby is now talking about going to Europe in a couple years (yippee!), so I would like to be able to ask at least some basic questions while in Spain, because I have a feeling I will be continually asked "What does that mean?" or "Ask them for __fill in the blank__." throughout the trip. I am also throwing "Learn Basic Latvian" onto the to-do list, because I would love to go to Riga as well, and would like to communicate at least a little in the language of my ancestors.
- Take more photographs. We are also talking about visiting my stepson in Portland, OR. this summer - and I would love to make a photography outing out of it.
- Still my goal to write more as well. I got a few writing guides and would like to spend some time on this... if only I had more time...
That's it for you... I am going to go play Parcheesi with my sweetie now, so Happy New Year's to you all.