Friday, December 24, 2010

Menger Washcloth

Menger Washcloth

If one can have a Menger Sponge, then why not a Menger Washcloth to complete the set? Yes, this pattern appeals to my inner geek as well as the part of me that loves a play on words. For more info on the Menger Sponge Fractal, check out the Wikipedia entry.

You will need approximately 70 yards or so of worsted weight cotton (I used Lion Brand Kitchen Cotton) and size 7 needles.

Cast on 37 stitches and follow the chart for 54 rows. Cast off. For a larger/complete version of the chart, go here.
Menger Dishcloth Chart

The finished washcloth should be about 8 inches square. The texture variations on the washcloth/dishcloth make for an efficient cleaning surface, and plus the pattern looks good on both sides!

Menger Washcloth

The pattern page on Ravelry is here.

Oh, and in case you were curious, the soap came from here: GeekSoap.net

Tuesday, September 14, 2010

LSG Quilting Bee Square

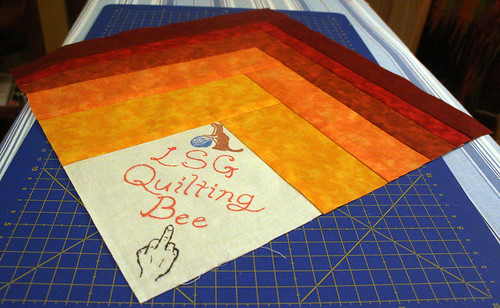
Here are the directions for my LSG Quilting Bee Square!

QuiltDiagram

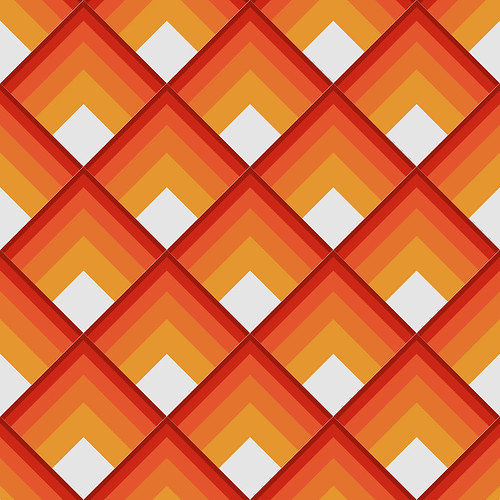
I have seen variations of this pattern called “Stacked Squares”, “Chevron Log Cabin” and “Half Log Cabin Square” (which would be a misnomer, as it would be a quarter Log Cabin if anything, but whose counting?).

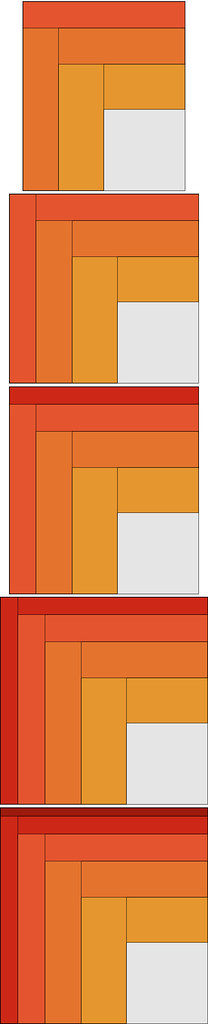
In this variation the strips of colors get darker and thinner as they reach the outer edges of the square.

To create a 12” square (12.5 with seam allowances) then sizes for cutting are as follows (measurements in inches):

Starting Square: 5 x 5

2 Dark Yellow strips: 3 x 5 and 3 x 7.5

2 Orange strips: 2.5 x 7.5 and 2.5 x 9.5

2 Dark Orange strips: 2 x 9.5 and 2 x 11

2 Red strips: 1.5 x 11 and 1.5 x 12

2 Dark Red strips: 1 x 12 and 1 x 12.5

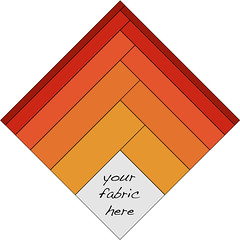
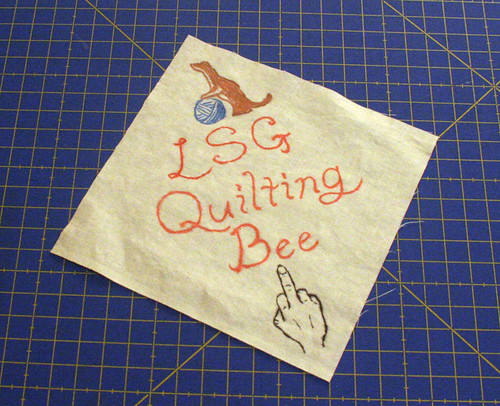
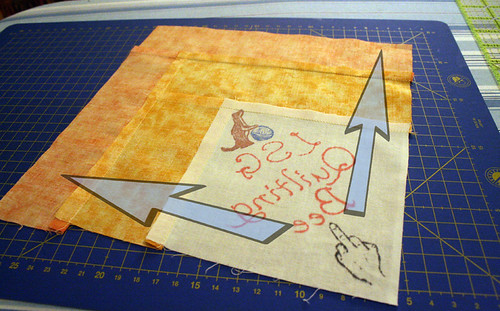
Start by picking out your starting square. This is the personal part of the quilt – I want to see something you love! Pick out a square of fabric you think is awesome or try your hand at appliqué, embroidery, or miniature patchwork. You can even do a knit or crochet square and that would be fine with me. My only stipulation is that whatever you pick is machine washable (as this lap quilt will be used often and I am a slob). You can also take a simple 5 x 5 inch square and make a drawing on it (I have included a square of plain fabric and fabric pens for you in the swap if you would like this option, but don’t feel like you have to use my fabric). Feel free to make your starting square “adult-themed” as well. Keep in mind that in the final quilt the blocks will be on-point, so the square will actually be a diamond standing on its point.

SingleBlockExample

For my sample block this is my starting square:

LSG Quilting Bee

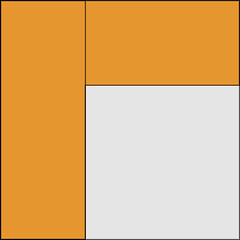
Now attach the 3 x 5 inch strip of Dark Yellow to the upper-right side of the square.

Step1

Press seams away from the starting square.

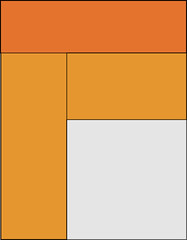
Attach the 3 x 7.5 inch strip of Dark Yellow to the upper-left side of the square. Again, press seams away from the starting square.

Step2

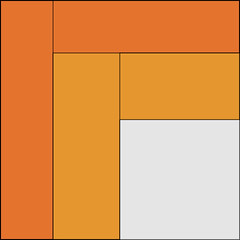
Attach the 2.5 x 7.5 inch strip of Orange to the upper-right. Press seams.

Step3

Attach the 2.5 x 9.5 inch strip of Orange to the upper-left.

Step4

A couple notes to remember: You always attach the shorter of the two strips in each colorway first and you always press the seams away from the original square (towards the darker colors).

LSG Quilting Bee Instructions

Continue with the remaining color strips in this manner, moving from lighter to darker colors.

Steps5to9

Sew the last dark red strip on and you will be all done – woo hoo!!!

LSG Quilting Bee Instructions

I'm looking forward to making the squares for my partners now!

Thursday, July 15, 2010

Wee Little Crown

I was making the cute little froggie from Sarah Gasson The Knitables Collection for my sweetie (with fingering weight yarn so he would be a wee little froggie). However, when he was finished I decided that as he was being made for my own Prince Charming the froggie needed a wee little crown for his wee little head.

PrinceCharming

Here are the directions for making your own Wee Little Crown:

You may use any size yarn for this project. As my froggie was made with fingering weight I made the crown with fingering weight as well (a lovely golden shade from Shameless Twist).

Use a needle size to match your yarn (I used US 2 - 2.75mm)

The amount of stitches you cast on will depend on how large you want the crown to be. I would try a few rows in different sizes and see which works best for the doll or animal you are making the crown for. Whatever size you choose you should cast on an ODD number of stitches (I cast on 15 stitches). Cast on loosely.

Rows 1 and 3: Knit
Rows 2 and 4: Purl
Row 5: K1, *YO, K2tog, *repeat to end
Rows 6 and 8: Purl
Rows 7 and 9: Knit
Cast off loosely leaving a long tail.

Fold the crown over so that cast-on and cast-off edges match up (knit sides showing) and press flat.
Use the yarn tail to sew the two halves of the crown together, along the cast-on and cast-off edges.
Curve the crown into a circular shape and seam up the backside.
Trim ends or use the remaining yarn to sew the crown to the head.

Crown